Original instructions can be found here: https://developer.vive.com/resources/vive-wave/sdk/320/vive-wave-xr-plugin/vive-registry/
This is based on version 3.2.0 of the Vive SDK.
VIVE Registry
Unity is transitioning to package manager for better modularization and package management support. The package manager gets packages from registries. By default, Unity package manager connects to Unity official registry. Meanwhile, Unity provides scopedRegistry support for 3rd-parties to set up their own registries.
To let your project access packages from VIVE, you can add VIVE registry by either of the following methods: editing manifest.json manually, or using our VIVE Registry Tool
Manually Editing manifest.json
Open Packages/manifest.json in your project. Add scopedRegistry field to it:
{
  "dependencies": {
    "com.unity.cinemachine": "1.0.0",
    "com.unity.2d.common": "1.0.0",
    "com.unity.2d.animation": "1.0.0",
    "com.my-company.bar": "1.0.0"
  },
 "scopedRegistries": [
    {
      "name": "VIVE",
      "url": "https://npm-registry.vive.com/",
      "scopes": [
        "com.htc.upm"
      ]
    }
  ]
}
Then, open your Unity package manager window, you can browse packages from VIVE in it.
VIVE Registry Tool
Requirements
Unity 2019.1 or newer
Installation
Download the *.unitypackage from one of the following sources:
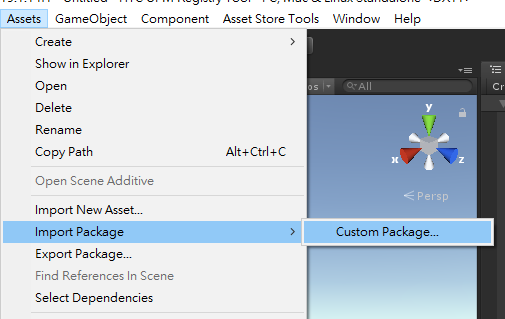
Open your project, click Assets/Import Package/Custom Package in the menu, or drag the *.unitypackage onto your Unity editor, to import it.
After importing, the following window will show up automatically.
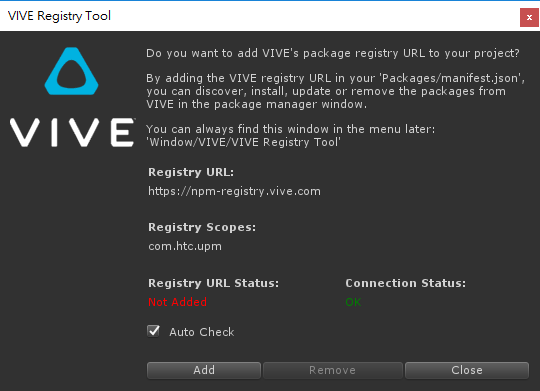
After adding the URL, Unity package manager will be automatically opened. Wait for it to refresh the package list then you’re ready to discover the packages from VIVE.
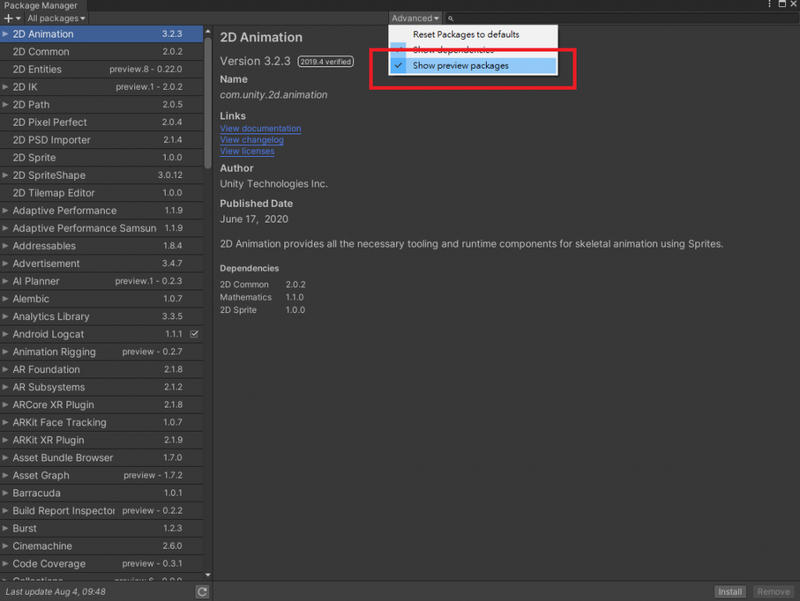
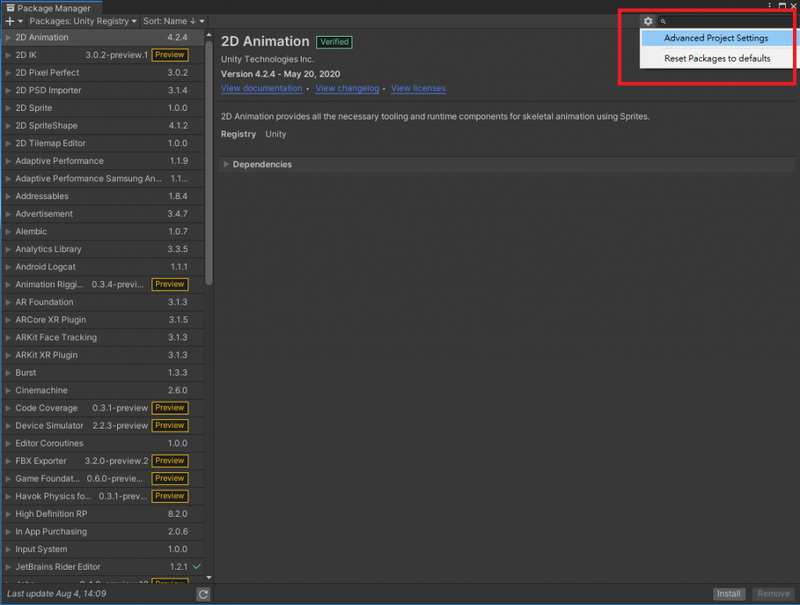
Showing Preview Packages
If you want to see packages in preview, remember to check Show preview packages for the package manager.
Before 2020.1
2020.1 and Newer
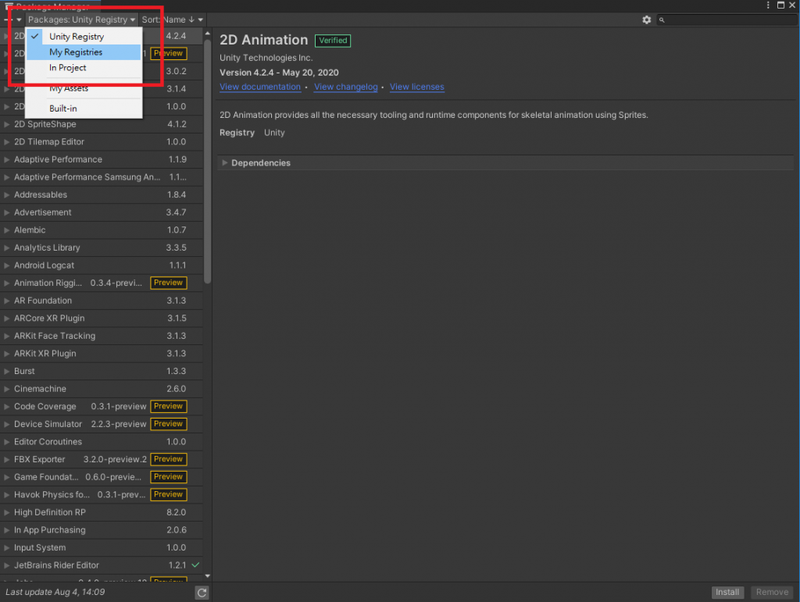
Switching to My Registries
Only in Unity 2020.1 and newer, packages from scoped registries will be listed in another place called My Registries .